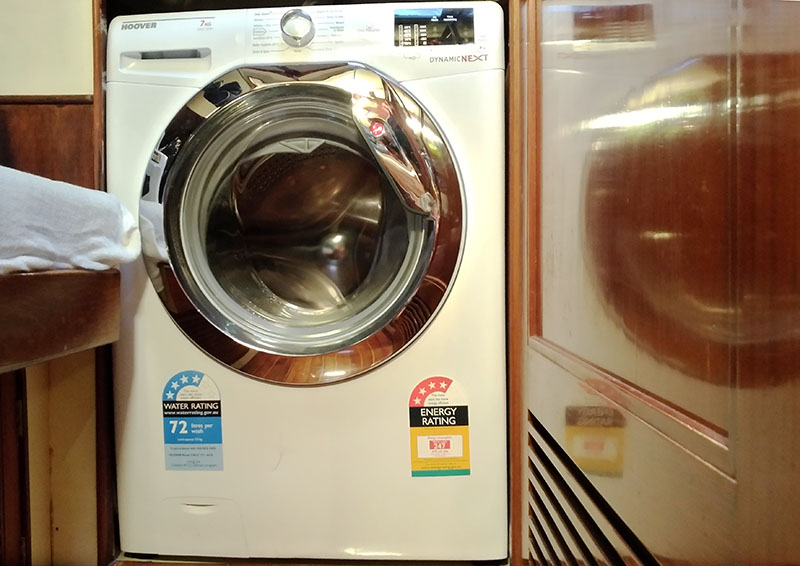
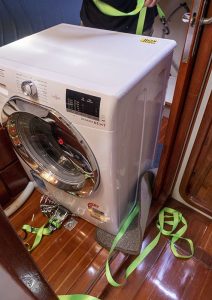
Operating on the American system, the washing machine was 110vt and 60 cycles, which is an American standard that is incompatible with pretty much everywhere else in the world. That being the case, the decision was made to purchase a 240vt at some stage.
Well, that turned out to be sooner rather than later……
Out shopping at one of the Bunnings stores one morning, Bob happened to espy an electrical white goods dealership across the road. Heading in, he happened to find a washing machine with the right dimensions and with the price reasonable, made the purchase on the spot.
You can imagine my surprise when he arrived home as proud as punch with the most welcomed news!
The machine collected later that day, our friend Pete arrived to assist in removing the item from the tiny car boot into which it had been squeezed, then on down to Saliander where it rested upon the dock awaiting installation.
In simple terms, this was the point at which the exercise became an art, and part one was removal of the old machine.
With minimal room available at entranceways, taking large items in or out isn’t the easiest of manoeuvres and this was no exception.
The first unexpected challenge, however, took place whilst removing the original machine from its cubby hole. It is situated in the spare twin cabin and hemmed in by part of the bed, some of which required dismantling. Having removed both the front of the bed and additional cupboard fronts, Bob thought he had it all sorted.
The simple answer was, ‘THAT’S WHAT YOU THINK, NELLY!’
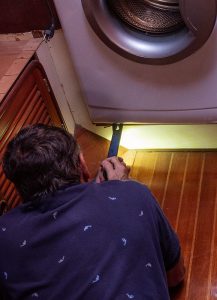
On attempting to draw the machine out, he discovered it had a mind of its own as it refused to budge. On walking into the room, I discovered my love flat on the floor as he attempted to find the place at which the beast was attached.
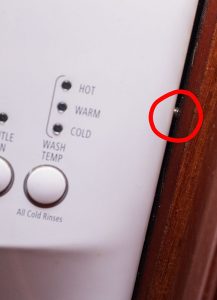
With no visible screws or bolts, I commenced my search by peering down the right – hand side of the machine where there was a slither of space, and there it was!
A tiny speck of silver was just visible in the smattering of available light shining through.
With no screw heads visible to the naked eye, out came the cutter and within seconds that blighter was eradicated.
Back to work went Bob, but still that monster refused to move. Fifteen minutes of frustration later he the culprit came to light hidden behind yet more cupboard boards! A massive bolt that went right through the back of the machine, thereby adhering it to the wall.
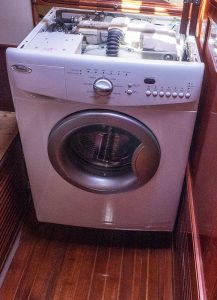
It was at this point in time that Bob figured out that the top of the machine could be removed, making for a much simpler process.
With me holding a spanner to the nut that prevented said nut from rotating and Bob working on the bolt from behind, at last the machine was freed.
Within minutes, the monster was residing at the base of the stairs and it was now that the hard yakka could truly commence.
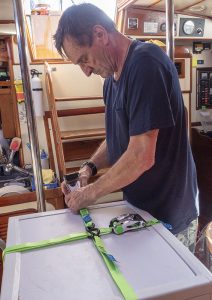
Straps firmly locked in place around the machine, from outside the starboard sheet (* see below) was directed through the cockpit, then down the entrance hatch into the dining area where the machine was ready and waiting.
Sheet attached to the ties, from outside I wrapped the remaining end around a winch then, at the word from Bob, slowly winched away from above whilst he directed the machine up the stairwell.
Monolith at last resting in the cockpit, that was the first half of part one accomplished!
Starboard sheet disconnected, the main halyard* was taken back to the cockpit and set in place (this line also had additional connection points put in place that would assist in preventing the machine from taking off toward the bow as it was lifted). A further line that also assisted with preventing the machine from returning to the cockpit and also bow – wards was created with the port side sheet.
Whilst Bob controlled the beast and guided it over the seat and out of the cockpit, whilst I – now positioned at the mast – winched away until the washing machine was floating above the deck. At the command from Bob, freeing the halyard, I gently released the line until said machine stood on the deck.
Portside sheet now become redundant was removed, and it was time for the final stage of the removal take place: that of lifting the machine up and over the lifelines*.
Main halyard rewound around its winch on the mast, the behemoth was gradually raised up and over the lifelines, at long last coming to settle in the awaiting trolley, where it awaited transportation to a white goods second – hand dealer.
It was now time for part two of the process: bringing the second slightly smaller machine that was on the dock, ready and waiting on board. Having undertaken the process with the other, taking it into the boat was as simple as ‘ABC’.
In position, hoses and wiring connected, it was time for the big test. Power on, the red light lit up. Wash cycle chosen, button pressed, in came the water. A quick check, no leaks!
The machine was ready to roll and hard as it may be to believe when it comes to washing, I was in seventh heaven. It means that whilst the washing is going through, I can simultaneously clean the boat and have the onerous job completed by the time the clothes and so forth have all gone through. In short, it saves us an hour or more of me sitting at the laundromat whilst the wash itself goes though!
For the non sailors:
* Sheets are the ropes used to control the movable parts of a sail
* Lifelines are one of the most important safety features on a boat. They are the rails/ropes
mounted on the outside of the boat and assist in preventing people from heading overboard
* Main Halyard is the rope used to pull the main sail up the mast
* Port side: left side of the boat
* Starboard: right side of the boat
